Hello World With Jekyll! (How to Get Started with jekyll)
I was hungry to get into something new when Jekyll came up in my Twitter timeline. The idea of blogging using markdowns and static site generation sounded much more attractive than solutions requiring complicated setups, databases and expensive maintenance. I am documenting here my path to get my first Jekyll site running.
Hi everyone, my name is Wellington and I am a computer scientist and developer based in Málaga, Spain. My expertise goes around programming, infrastructure, physics and maths. I love to get myself involved with new projects and I am constantly learning new things.
![]()
I have been looking at Jekyll for few weeks now and recently I decided to dedicate some time to get familiar with the framework. Jekyll is a static site generator wrote in Ruby and with full support for markdown, turning the blogging experience much faster and easier.
Jekyll have unbeatable features that makes it faster and more secure than all other blogging frameworks out in the market.
- Site generation
- HTML and CSS only
- No Database required
- Updated via Markdowns
That means no need of interpreters, complicated servers or database to have your blog live, that represents a massive cut of costs in infrastructure, maintenance and security.
My starting goal with Jekyll was to simply get a blog running, but after few hours of research I realised that the framework is very powerful for corporative websites looking to reduce costs from maintenance and infrastructure.
It is easy to get started with Jekyll and you won’t need any programming skills to get a site up and running. Jekyll is an awesome framework for front-end developers with experience in HTML, CSS and JavaScript.
Getting started with Ruby
Jekyll is written in Ruby, a programming language used for science, AI, software and web development, Ruby is very popular with the Framework Ruby on Rails.
To start with Jekyll the very first step is to download and install Ruby in your computer. You can find the latest version for your operational system on the official Ruby’s website.
Click here to download Ruby.
Installing GEMs Bundle and Jekyll
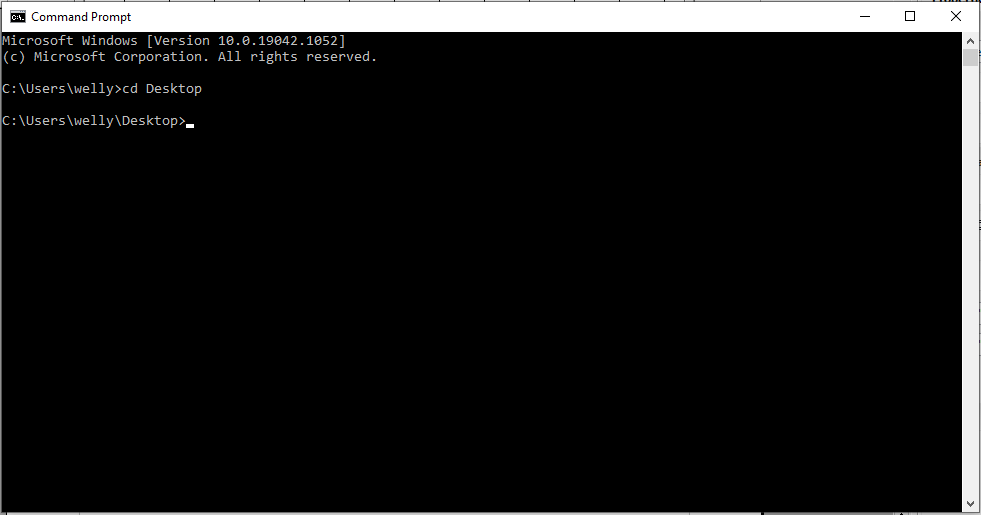
Once Ruby is installed in your computer, it is time to work in some commands. Open your terminal, shell or command prompt and navigate into the folder Desktop. CD Desktop
-
Use the following command to install Jekyll and Bundle:
gem install bundle jekyll. Wait for the download and installation to complete. -
Use the following command to create a Jekyll project:
jekyll new my-blog. This will create a new folder named my-blog in your desktop. Now jump into the folder with the commandCD my-blog. -
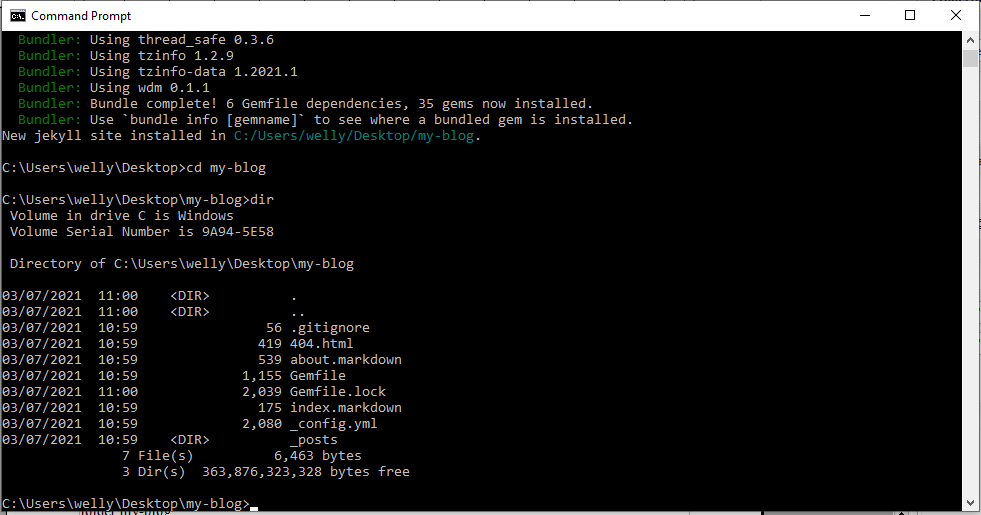
Use the following command to see files created by Jekyll:
dir(Windows) orls(Mac or Linux). This will list all the files that Jekyll created in the folder.
Use the following command to build and serve Jekyll: bundle exec jekyll serve --watch
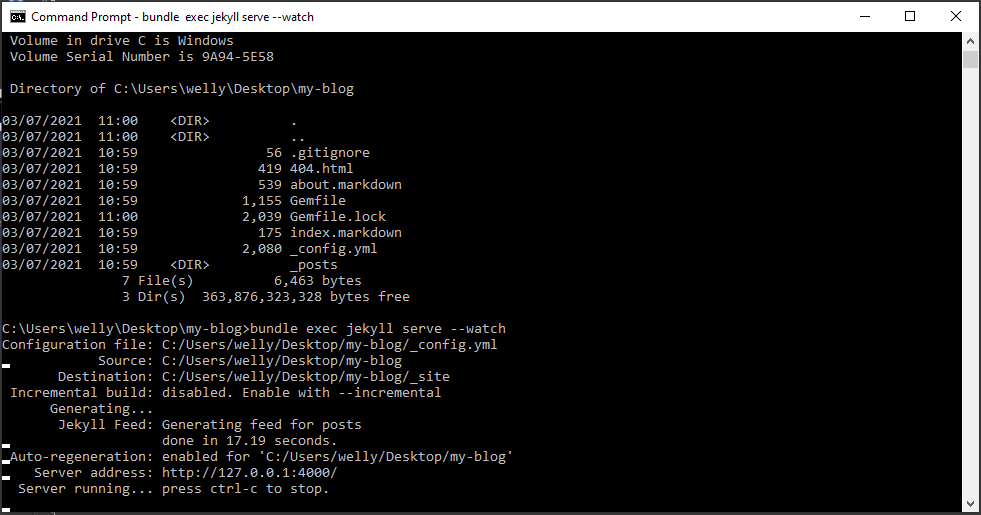
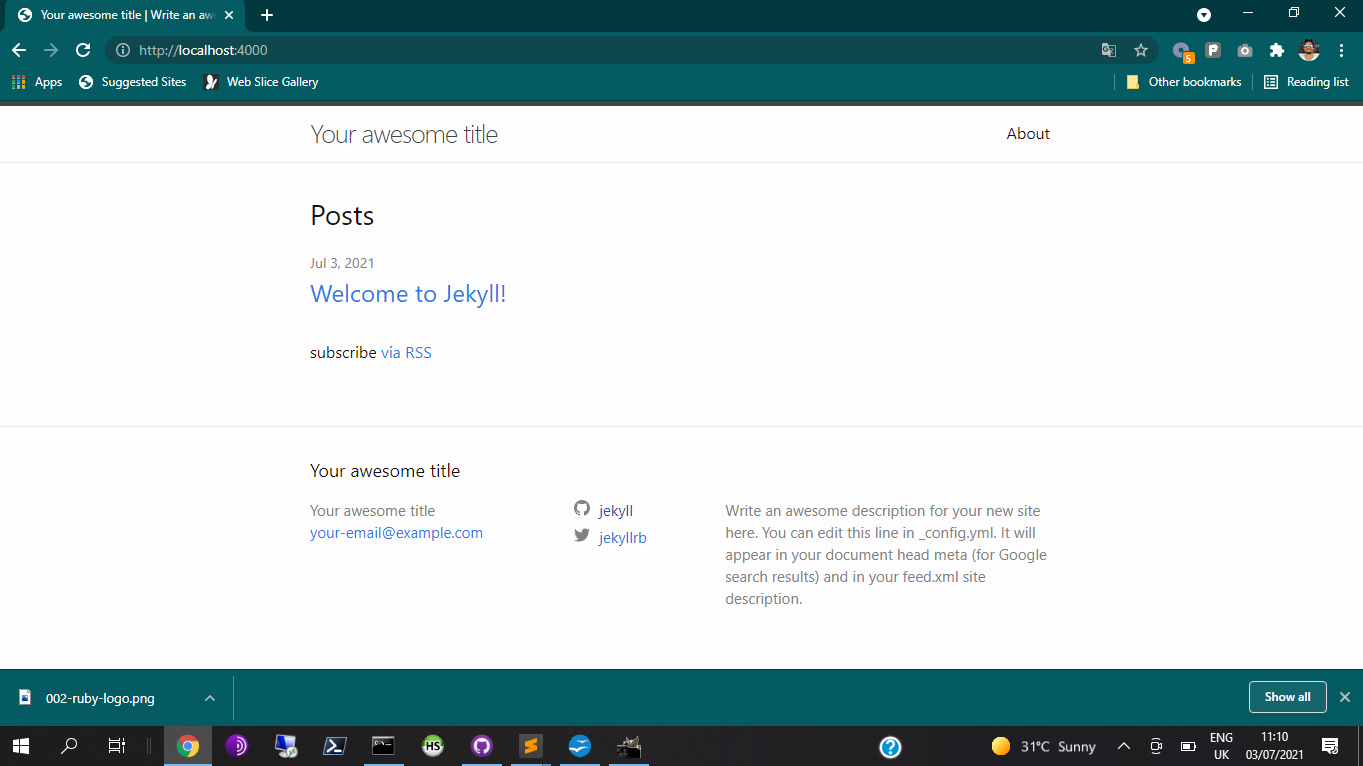
Now Jekyll has built up your blog and is serving at the host http://localhost:4000/. You can access this address with your browser to see your Jekyll blog working.
Jekyll is a static site generation that works with templates and markdowns, and to understand how to make changes and updates in our blog, we need to have a close look at the file system inside the folder my-blog.
Updating Jerkyll
To make any changes or updates in your blog, I strongly advice you to use an IDE of your preference. I am using Sublime Text, but you can pick the one you like the most.
Open the folder my-blog in your IDE and that is what we see.
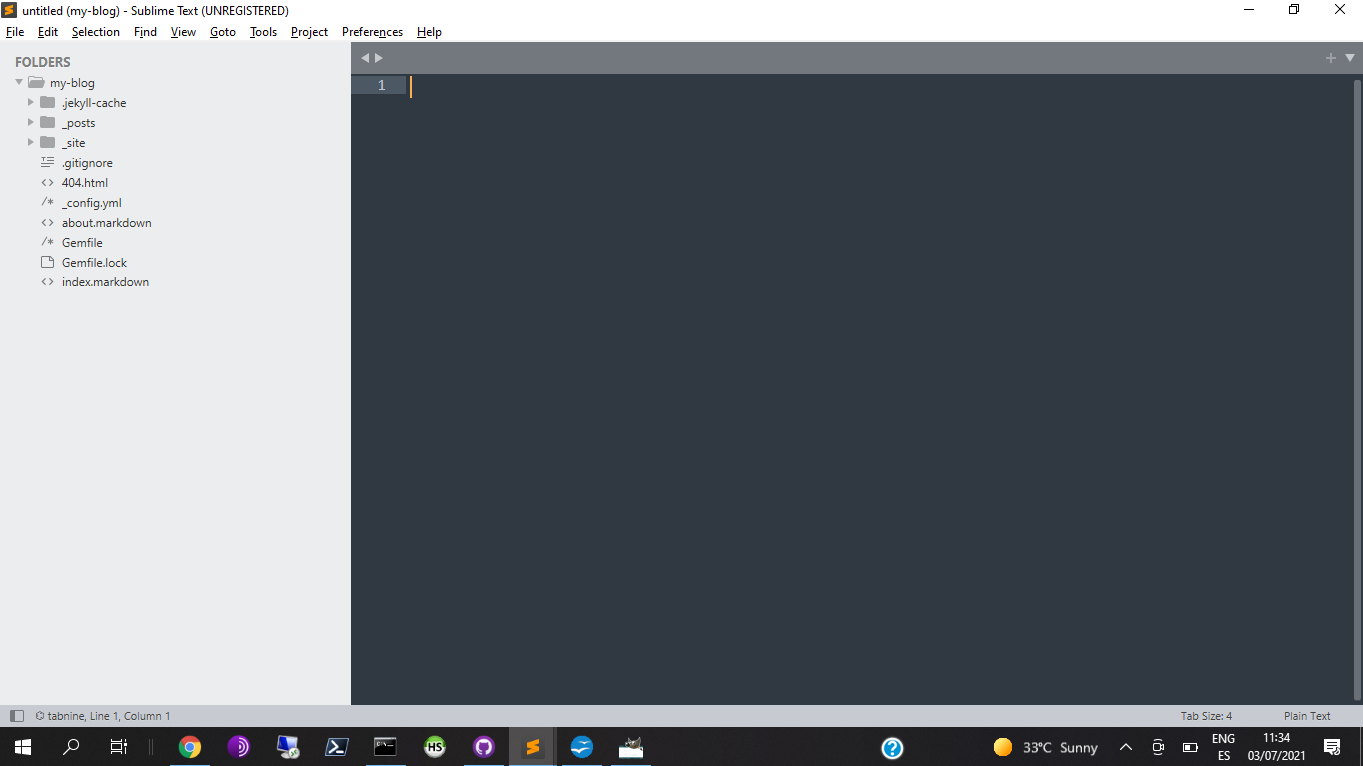
- Folder
_posts: Contain markdown files of your posts, posts must be named following this rule:YEAR-MONTH-DAY-title.markdown
Example: 2021-07-03-welcome-to-jekyll.markdown
-
Folder
_site: Contain the build up of your site. You don’t need to change anything in this folder. - File
.gitignore: GitHub .gitignore file. - File
404.html: 404 Erro Page. - File
_config.yml: Configuration file of your blog. - File
about.markdown: About page file. - File
Gemfile: Ruby configuration file. - File
Gemfile.lock: Ruby lock file. - File
index.markdown: Home page of your blog.
The first folder to look at is _posts. The only fine in it is named something like 2021-07-03-welcome-to-jekyll.markdown. That is a markdown file and what Jekyll uses to generate the content and site structure of your blog.
All posts must be created in a markdown file named accordingly to the standard. YEAR-MONTH-DAY-title.markdown
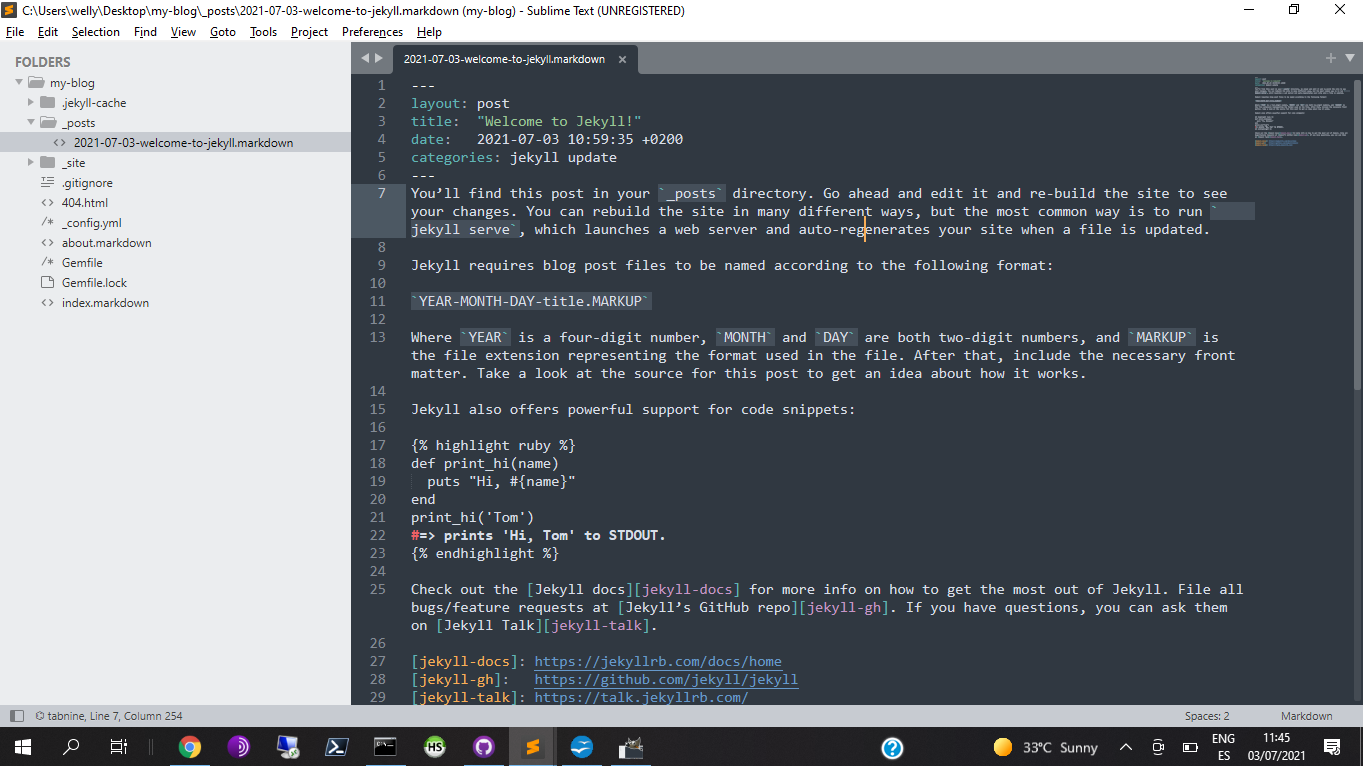
When you open the only file in the folder _posts, you will see that the file have a head that looks like this.
---
layout: post
title:  "Welcome to Jekyll!"
date:   2021-07-03 00:00:00 +0200
categories: jekyll update
---
All posts must have this head to define the layout, title, date, time and category of the update.
Jekyll will use the file name to build your site-map structure, but the information displayed from every posts, comes from the head of the file.
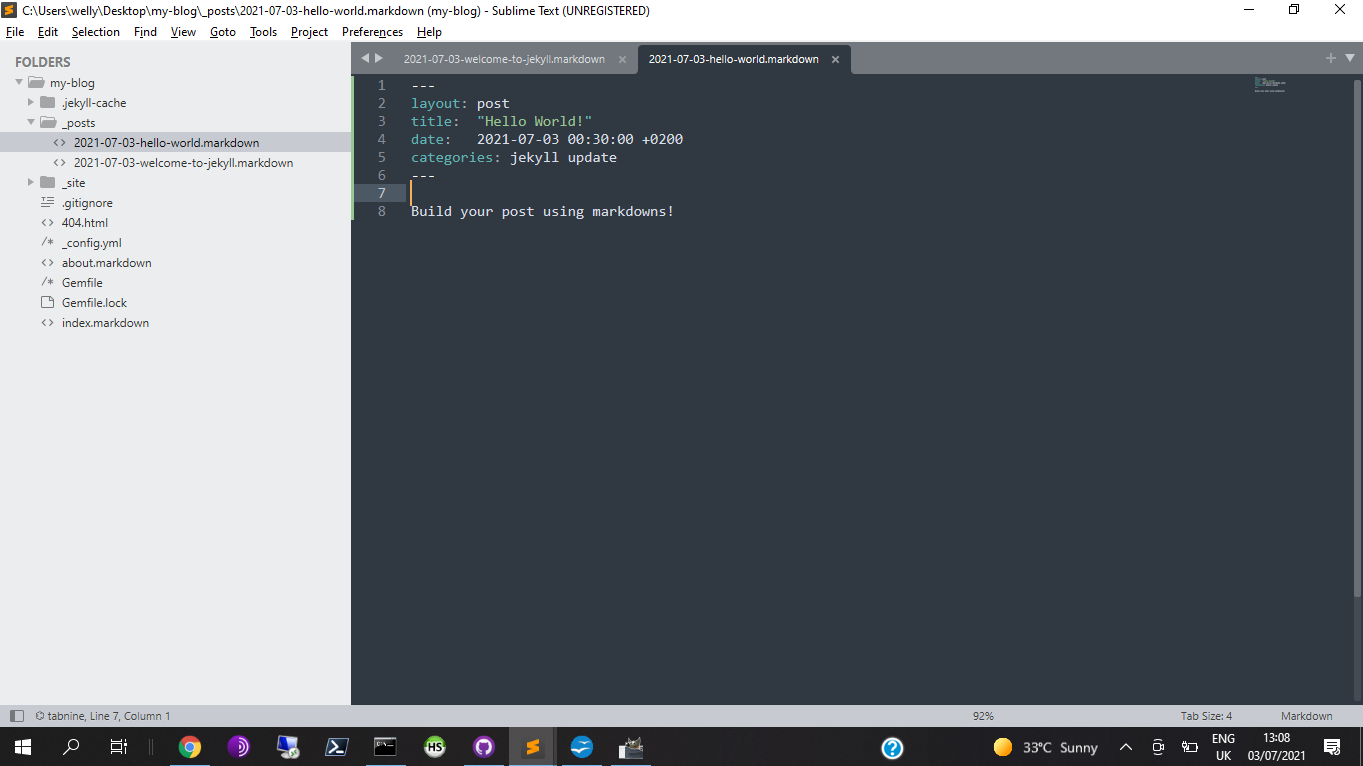
If you want to create a post with the title “Hello World!”, these are the steps to take.
- Create a file named 2021-07-03-hello-world.markdown in the folder
_posts - Add the following head to the markdown file.
---
layout: post
title:  "Hello World!"
date:   2021-07-03 00:30:00 +0200
categories: jekyll update
---
After the mandatory head, you can work in your post freely using markdown to build your content. If you are not familiar with markdown, check the Jekyll docs to get started.
To understand more of Jekyll file system, we will now have a look at the file about.markdown in the root of the folder my-blog.
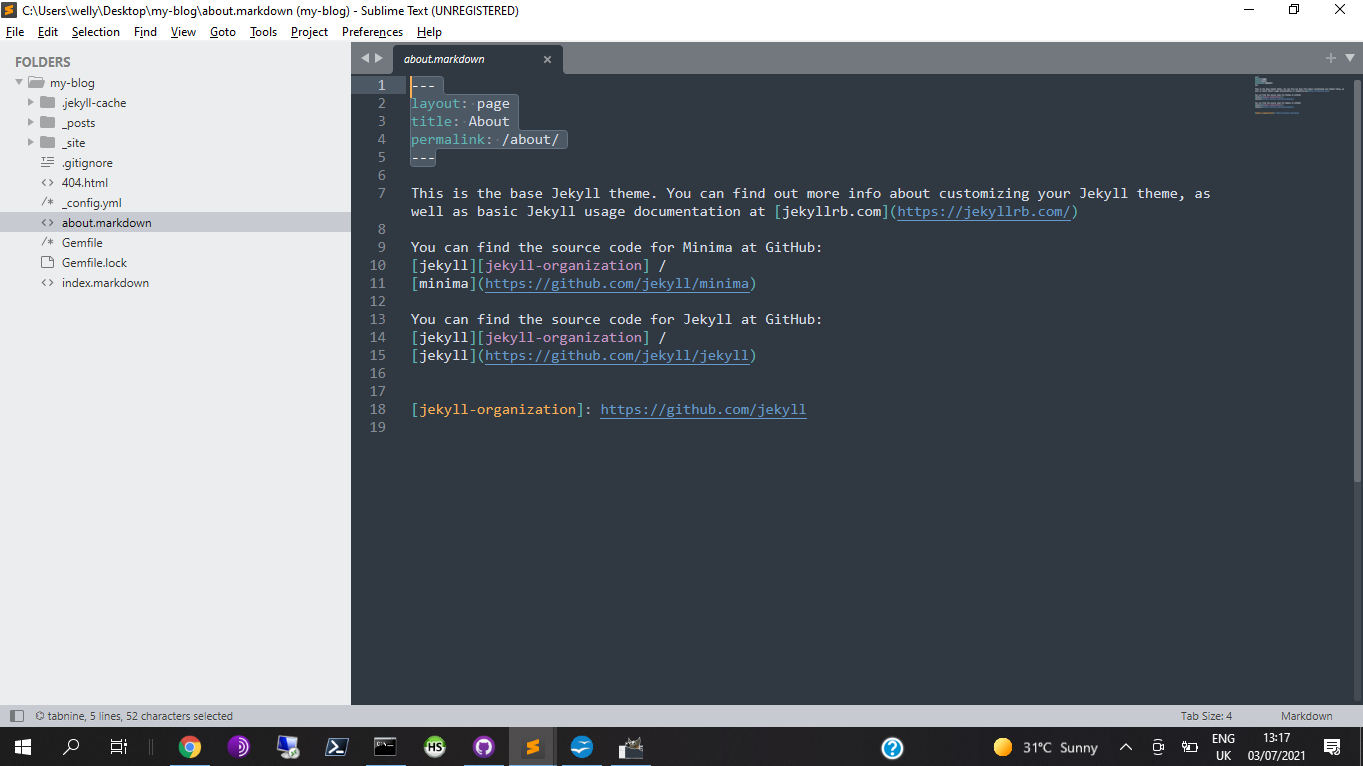
When you open the about.markdown, you will realise that this file also have a mandatory head. It looks like this:
---
layout: page
title: About
permalink: /about/
---
It is slightly different than the post head, but also super important for the site organization and display of the content.
If you want to create a page to receive contacts, these are the steps.
- Create the file
contact-me.markdownin the root of your project folder. - Add the following head to the markdown file.
---
layout: page
title: Contact Me
permalink: /contactme/
---
Right after the head, you can also edit freely the content of your page using markdown.

Now when we update our site in the browser, we cam notice that your updates are built in the blog.
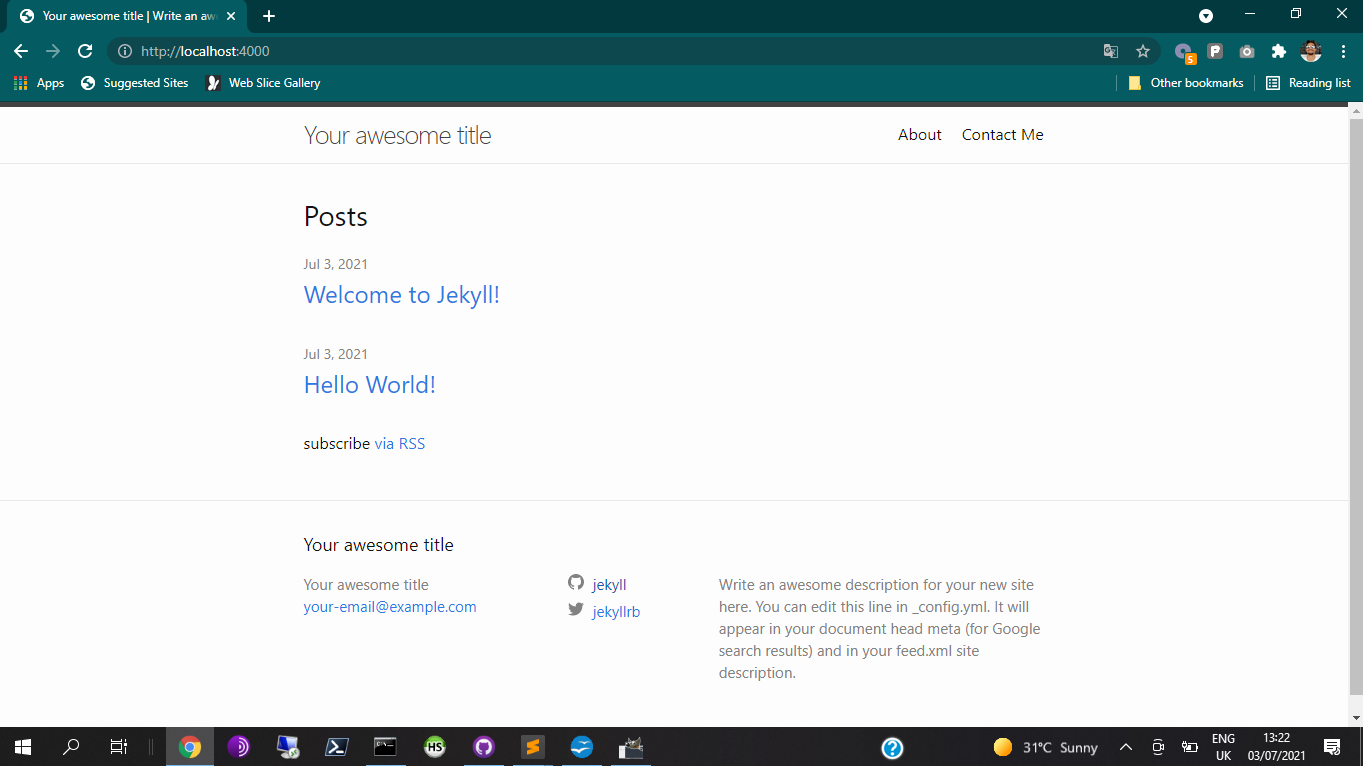
The post “Hello World!” and the page “Contact Me” are displayed in the site.
Congratulations, you are now introduced to Jekyll. There are more to learn about the framework, but you can explorer the documentation and watch videos to learn everything you need to know about Jekyll in no more than 2h:30m. Jekyl is very easy to learn.
Final words
Jekyll’s official documentation provides a huge amount of handful content to help you on your path.
In a future append to this article I will cover Jekyll includes, templates and how to customize Jekyll´s Minima built in theme with your own CSS.
Jekyll is easy, fast, secure and the learning curve is really fast. Anyone with little technical skills is able to get a Jekyll site running in a couple of hours.
The framework is useful for blogs, corporative websites and with a little bit of creativity you can connect it to other services using JavaScript and APIs.
Check out some theme resources for Jekyll:
if you are a front-end developer, you have just gained the freedom from back-end developers and can now work in your own generated sites using the simplicity of Jekyll.
The average pay for a professional working with Jekyll is $20 USD to $120 USD per hour on Upwork, and there are plenty of opportunities out there.
Thank you for reading my documentation. Please share this article in the communities that you belong and let everybody knows how simple and fun it is to blog using Jekyll.
Reach me out on Twitter, Instagram or Facebook and let’s start a conversation about Jekyll, I am looking forward to help you with your doubts and I am interested to know what are your ideas with the framework.
Have fun with your new stack and happy creations.